When it comes to comments on WordPress, the built-in WordPress commenting system , Disqus comments and Facebook comments are few of most popular. Third party comments like Facebook comments can be added using plugins, but some of us might also prefer adding Facebook comments without plugins but by code directly on our self hosted WordPress sites.
Why use Facebook comments on WordPress
Comments on WordPress sites helps engage users and in some cases have also proven to improve loyalty of visitors.
While the built in commenting system by WordPress is great, it needs to be managed for spams by using other plugins like Akismet.
Disqus on the other hand is also a great commenting platform, but recently they have moved to an ad based plugin. The free version of disqus plugins runs ads on your sites beneath comments, although you will also get paid for these ads. But some of us might not prefer running ads (in some cases unrelated) to our content.
On the other hand, Facebook is another popular commenting system, as it is free and does not run ads on your site.
Needless to say, Facebook as a platform has many users and users who are logged in to Facebook while visiting your site can comment right away without filling in credentials.
Users can optionally also choose to post the comments on Facebook , if they wish to share their comments to their network.
Facebook comments can be managed by you on your dashboard and also Facebook will help you with their algorithm to rank the best comments at the top.
How to add Facebook comments to your WordPress site without plugin
Adding Facebook comments to your WordPress site without plugin, involves changing the core files of your theme.
This means, if your theme is updated, these details will be lost. Hence, it is always best to have a child theme and make your changes inside child theme, so that any updates to the parent does not undo your changes.
Now, having settled that , let’s look at where in WordPress files we begin with.

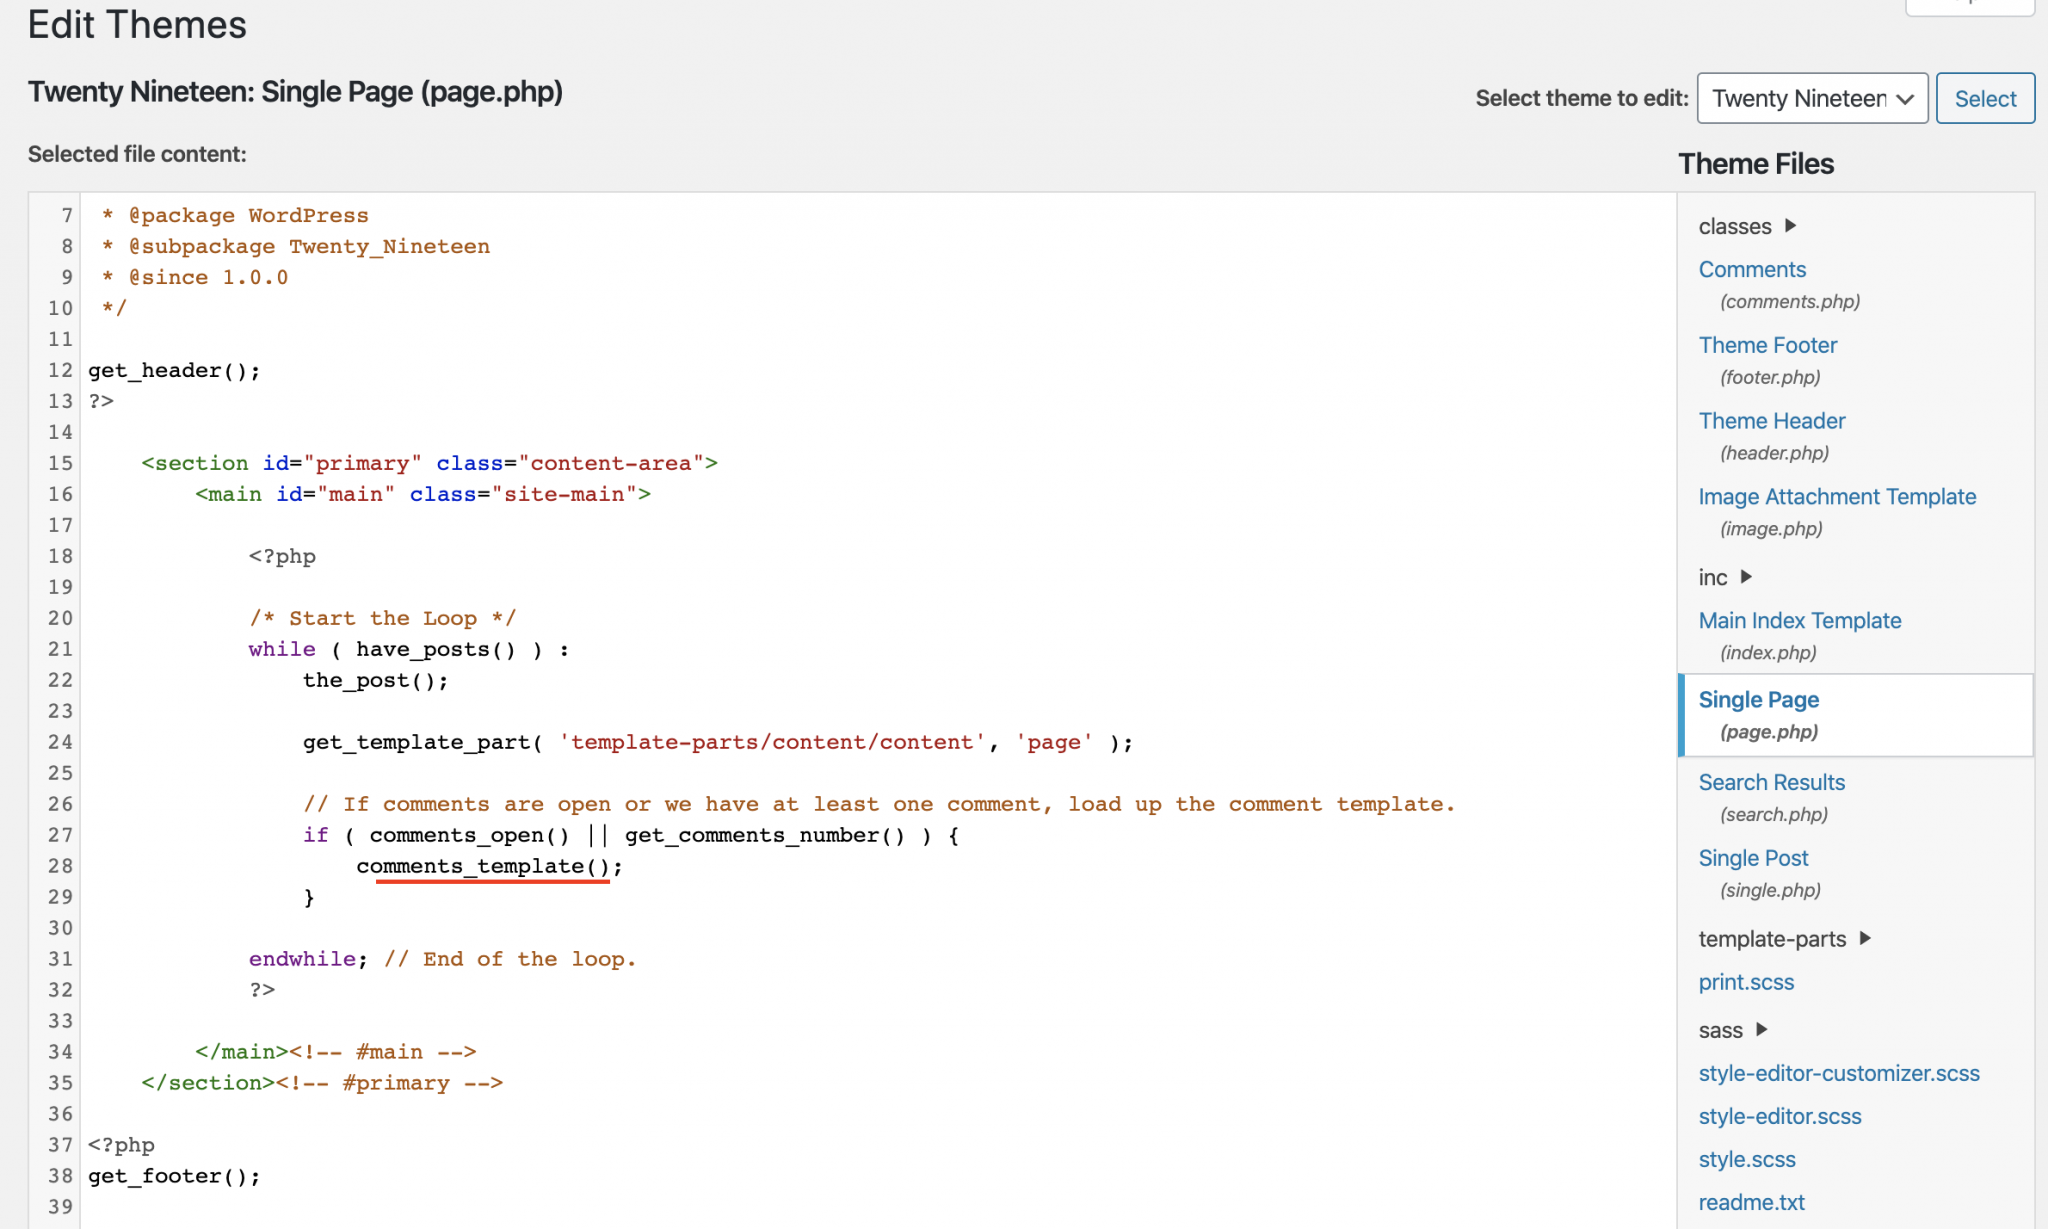
Single.php is the file in your parent or child theme which is used to display single blog post’s content. So in order to change the content of the comments, we will have to edit this file. ( Or create this file in your child theme, by replicating the contents of the parent single.php)
Scanning through single.php , you should be able to read the code that tries to render the comments on the blog. This should either be a link to commenting template or the function to render comments right there.
Inside the the default WordPress themes, the comments are rendered directly using the below code.
comments_template();
We now have to replace this comment code with Facebook comment code.
Let’s refer to the below code and understand what we are upto.
- The first line in the PHP code renders a html tag that renders the current URL for Facebook. This is how Facebook will tie this group of comments to your specific URL.
- The second line of code provides a root ID for Facebook to identify the location where the comments have to be inserted.
- The third part in this code is a script that has a function which can be called to initiate a call to Facebook and render the comments.
- The script includes a APPID, which you need to replace with one you get by registering on Facebook. More on that later.
    <?php
    echo '<div class="fb-comments" data-href="' . get_permalink() . '" data-numposts="5" data-width="100%"></div>'
    ?>

    <div id="fb-root">
    </div>

    <script>
    function displayComments() {
    (function(d, s, id) {
        var js, fjs = d.getElementsByTagName(s)[0];
        if (d.getElementById(id)) return;
        js = d.createElement(s);
        js.id = id;
        js.src="//connect.facebook.net/en_US/sdk.js#xfbml=1&version=v2.8&appId=[APPID]";
        fjs.parentNode.insertBefore(js, fjs);
    }
    (document, 'script', 'facebook-jssdk'));
    }
    </script>
Now, if we want to render the comments, the javascript function displayComments() needs to be called. Hence, let’s now include a button that calls this function as below.
    <button
    id="submitButton"
    class="submitButton"
    onClick="displayComments();">
    Display Comments
    </button>
So, here’s our final code to include below single.php to replace the original comments code in single.php . [ Replace the APPID in below code with your own from Facebook] .
<button
id="submitButton"
class="submitButton"
onClick="displayComments();">
Display Comments
</button>

<?php
echo '<div class="fb-comments" data-href="' . get_permalink() . '" data-numposts="5" data-width="100%"></div>'
?>

<div id="fb-root">
</div>

<script>
function displayComments() {
 (function(d, s, id) {
  var js, fjs = d.getElementsByTagName(s)[0];
  if (d.getElementById(id)) return;
  js = d.createElement(s);
  js.id = id;
 js.src="//connect.facebook.net/en_US/sdk.js#xfbml=1&version=v2.8&appId=[APPID]";
 fjs.parentNode.insertBefore(js, fjs);
}
(document, 'script', 'facebook-jssdk'));
}
</script>
Now, let’s have a look at how to get an APP ID from Facebook.
How to get an APP ID from Facebook developers.
Head over to Facebook Developers site here and login using your Facebook credentials.
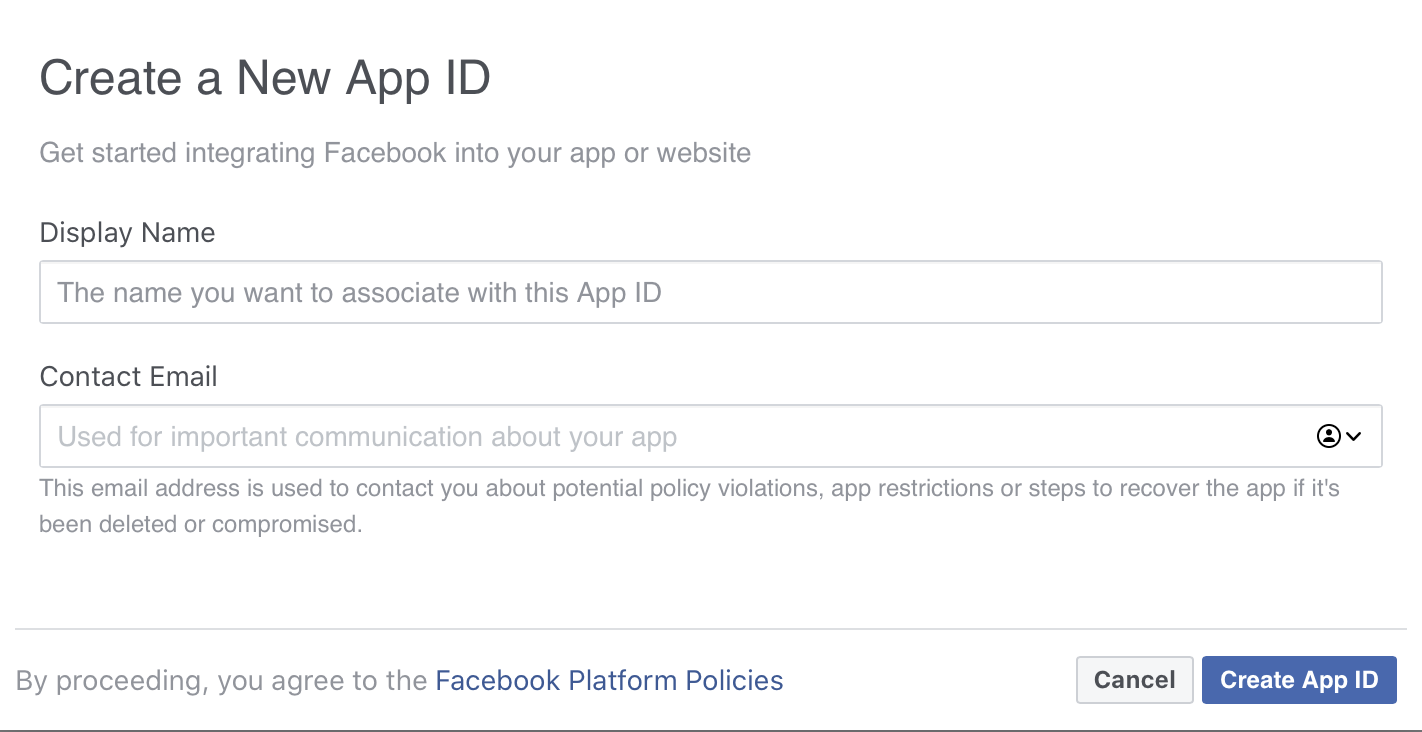
Now, we will have to create a new app. This could be your sites’ name.

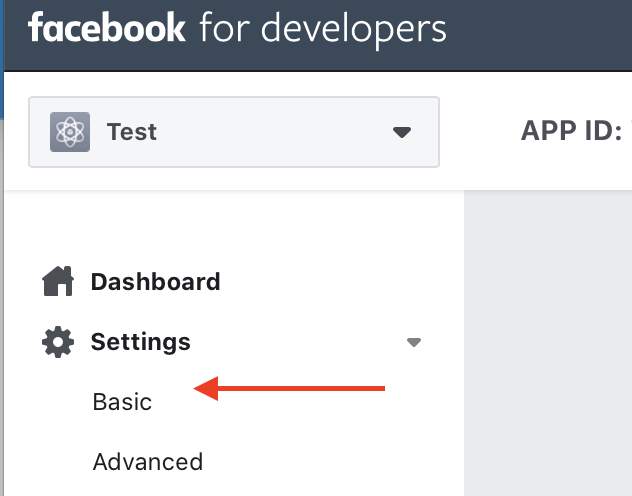
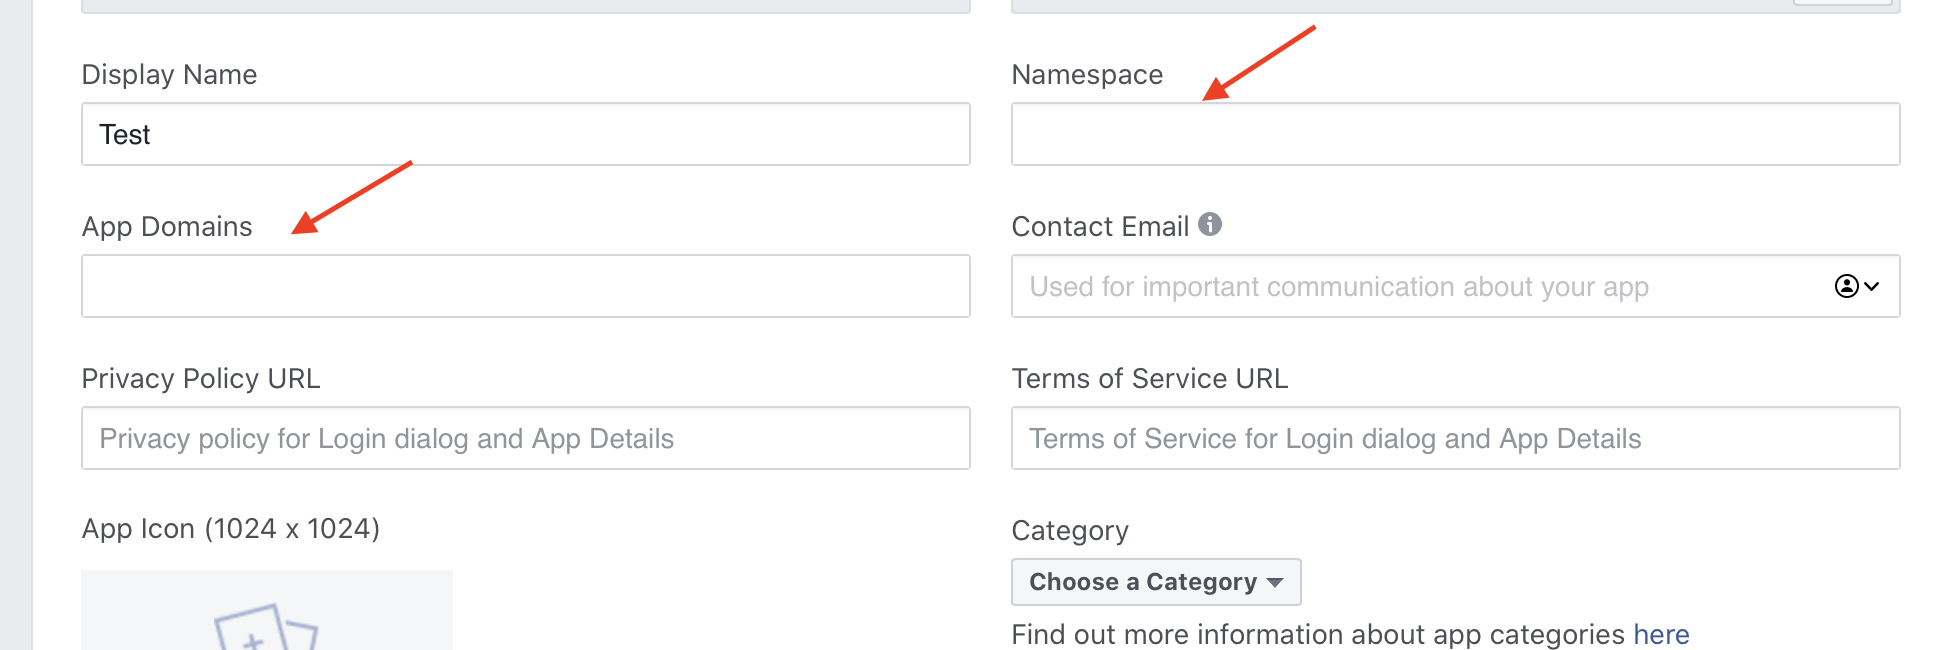
Once you create a new app, visit the Basic Settings and provide the domain name where the comments will be used. The namespace could also be your domain name.

Enter the Privacy Policy link, Terms and Conditions link from your website and save the changes.

You should now be able to use the APP ID provided by Facebook in your code.
The comments should start showing up on the registered domain after you have saved the single.php file with the changes.
Let us know in the comments section below, on how this goes. Thanks for reading! Happy Coding !
