AWS’ Lightsail is Amazon’s take on providing virtual servers, storage, managed database and networking for a very low predictable price. If you are using AWS’s LightSail infrastructure, you may need to connect to your LAMP stack’s PHPMyAdmin dashboard to manage database.
By default, only the SSH port is opened on these virtual servers hence accessing the PHPMyAdmin dashboard over port 80 or 443, needs some mapping. Bitnami also blocks access to these applications only via localhost, i.e., only applications or users on the AWS’s server can access these.
So In order to connect to these applications, we will tunnel through SSH to the remote server.
Read on to know more details of how we will achieve this.
The logic of SSH tunnelling to phpMyAdmin
For newbies, this section explains on what exactly are we doing when we mean tunnel using SSH.
Your LightSail server’s phpMyAdmin is blocked and has to be accessed only by the local applications.
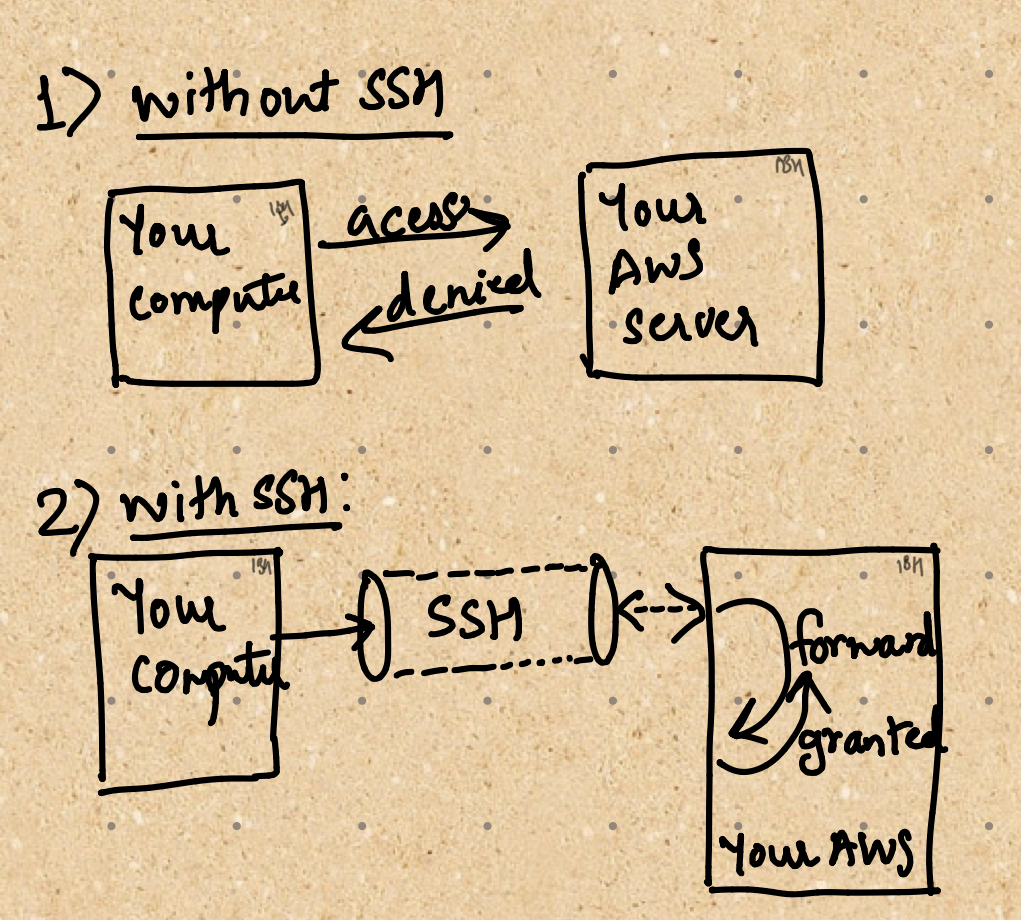
When we tunnel using SSH, we are creating a channel between your computer to the SSH Port on the server, which then forwards the request to the server’s application.
Thus in this case, as far as the server application is concerned, it thinks the traffic is actually originating locally.
The SSH Port then helps us talk to the server.
The below diagram will explain this in depth.

Pre requisites for SSH Tunnelling on a Mac.
In order to connect using SSH, one needs a private key. This private key would have been available to you when you first signed up for Amazon’s light sail server. This is .pem file.
If you do not have a copy of this private key, you can re download it, by visiting your AWS LightSail dashboard and then access it from the Account page.
Prepare a copy of this private key file on your computer in order to connect.The private key authorises you on the server.
You will also need the user ID and password to your Bitnami server, which was available when you first set up the servers in order to log into the PhpMyAdmin dashboard.
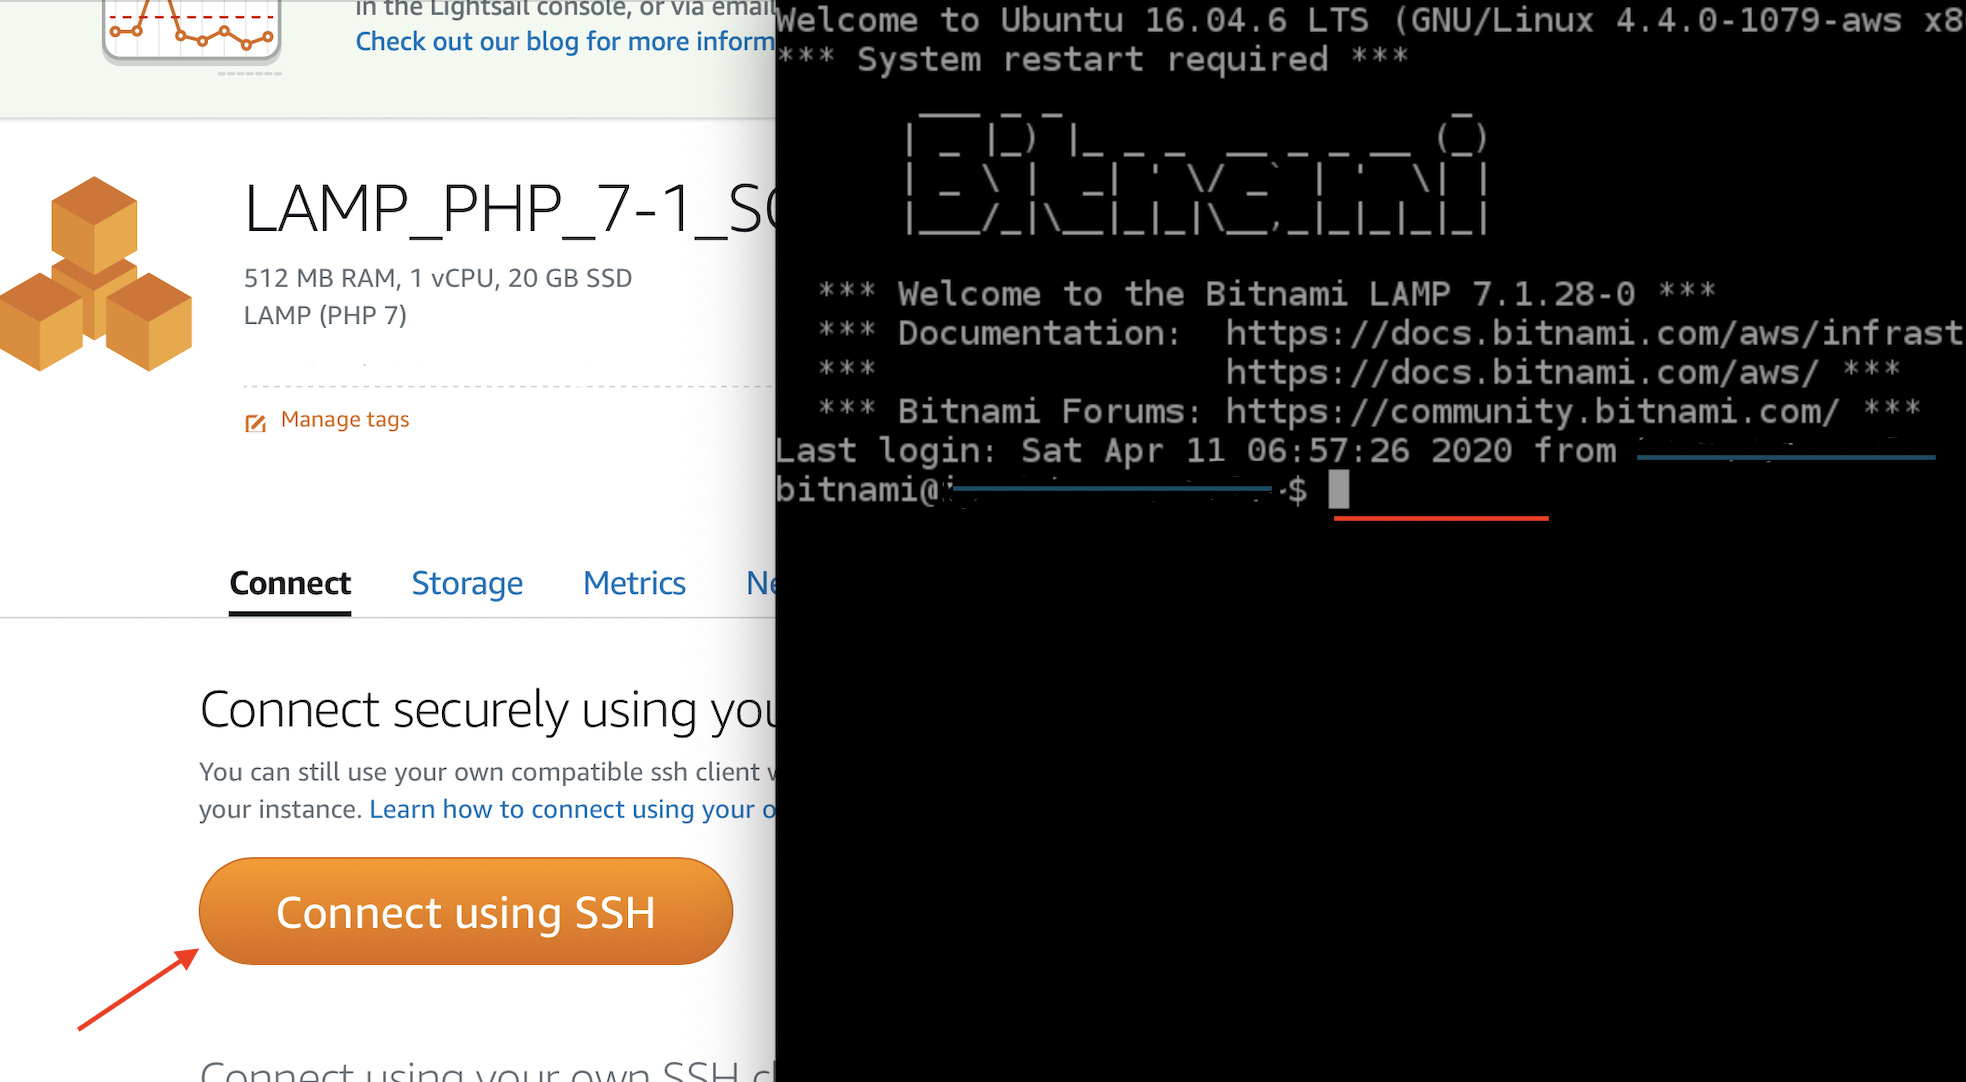
If you do not have the password for the user account, you can log in to the LightSail dashboard, open the browser based SSH session and type the below command at the terminal.

cat bitnami_application_password
If you are trying to retrieve the password and are at any other directory other than the user’s home directory in the browser- SSH session, you will need to refer to the path , and hence the command would be :
cat $HOME/bitnami_application_password
And finally, you will also need the IP address of your AWS LightSail server instance.
Now making sure you have the below, let’s move on with SSH tunnelling.
- Private Key to your AWS Lightsail server
- IP Address of your AWS Lightsail server
- Password to the account on the server
How to SSH tunnel using Mac or Linux
Mac or Ubuntu/ Linux has built in utilities for SSH access. You can open the terminal application, by visiting applications or by hitting command + space (also known as spotlight search) and typing in terminal.
Once inside the terminal, you may optionally change directories to the path your private key is located. If not you will have to type the entire path to the key file from the terminal.
The command to SSH would be as below on an http port 80.
ssh -i /location_to_private_key -L 8888:127.0.0.1:80 bitnami@AWS_SERVER_IP_ADDRESS
OR the below if you want to connect over httpS port 443
ssh -i /location_to_private_key -L 8888:127.0.0.1:443 bitnami@AWS_SERVER_IP_ADDRESS
Example below:
Let’s assume our key file is named “ls.pem” and is located at the root of our user’s folder. So at the root of the user’s folder, we’ll enter the below command to begin a SSH tunnel session.
e.g., st$ is the prompt on my terminal:
STMB152018:~ st$ ssh -i /ls.pem -L 8888:127.0.0.1:80 bitnami@AWS_SERVER_IP_ADDRESS
You will need to substitute the AWS_SERVER_IP_ADDRESS with the IP address of your server.
What we are doing above is calling the ssh command, providing it the private key file and then asking it to map our source port 8888 to the destination of IP and port 127.0.0.1:80 ,which is local on the server. Thus now the traffic at our port 8888 will be forwarded ahead to the server.
Now in order to visit the URL, we’ll fire up a browser and visit port 8888 on our localhost, this http://127.0.01:8888
The complete URL to visit phpMyAdmin on your AWS server would be:
https://127.0.0.1:8888/phpmyadmin

Once here, you can log in with either the root username and password or any other you may have created and proceed with your phpMyadmin stuff.
You will have to keep the terminal session active, as long as you need to access PhpMyAdmin via the tunnel. Closing the terminal will terminate the session.
Hope it goes well : )
